
Dioda & Twisted Dioda Guide (Floor 8 & Missing Piece)
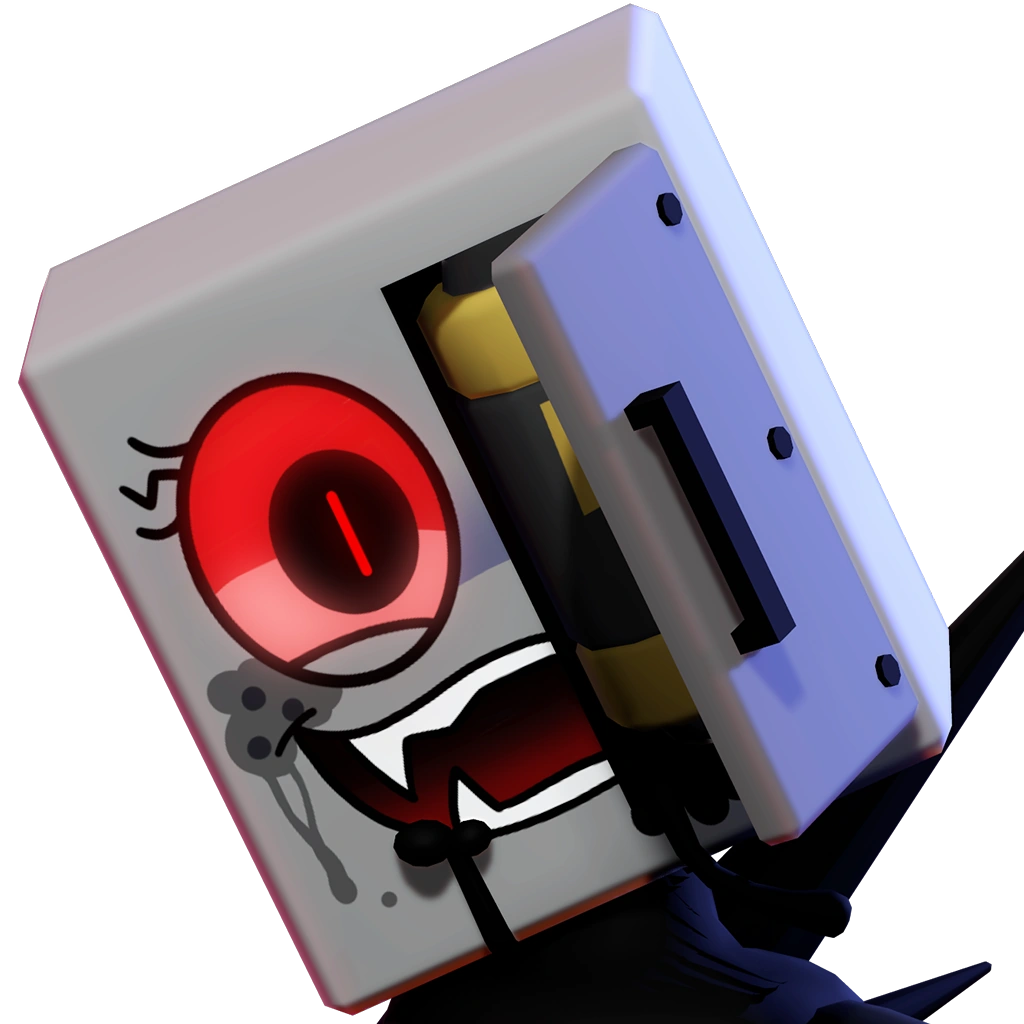
Dioda (Dioda Watts) is an unplayable developer-only Lethal Toon who runs the Lobby Basement Ambrosia shop for The Labs—selling Common (500), Rare (1,000), and Legendary (2,500) Lab Cards plus self-revive Ambrosia Vials and 10:1 Ichor conversion. Inside Lab runs, Twisted Dioda spawns consistently on Floor 8 (and every 5 floors after) as a ceiling-crawling spider Lethal whose Red electric bolts are instant-Loss attacks, awarding the Missing Piece blackout trinket at 100% Research.

Dioda's Lobby Basement Shop Prices & Conversion Rules
Dioda Watts (OA-002) is Dessa's electrical-box assistant located in the Basement of the Lobby (which Dyle directs you to after graduating from Dandy's Buds). Talking to Dioda grants your first free Lab Card slot; all 4 total deck slots unlock via tasks.
| Shop Item | Ambrosia Price | Robux Price (Launch) | Rule / Notes |
|---|---|---|---|
| Lab Card — Common (incl. Ward Cards) | 500 Ambrosia | Ambrosia only | Permanent unlock; some Ward cards require 25%–100% Twisted Research. |
| Lab Card — Rare | 1,000 Ambrosia | Ambrosia only | Permanent unlock; equips in standard deck slots. |
| Lab Card — Legendary | 2,500 Ambrosia | Ambrosia only | Fits only in Slot 4 (or a second slot with Personnel Badge). |
| Ambrosia Vial (1×) | 500 Ambrosia | 40 Robux | One self-reanimate per Labs run; must be bought in the Lobby beforehand. |
| Ambrosia Vial (3×) | 1,500 Ambrosia | 120 Robux | Standard rate (500 Ambrosia / 40 Robux per vial). |
| Ambrosia Vial (5×) | 2,375 Ambrosia | 190 Robux | 5% bundle discount (475 Ambrosia per vial). |
| Ambrosia Vial (10×) | 4,500 Ambrosia | 360 Robux | 10% bundle discount (450 Ambrosia per vial). |
- 12-hour card rotation: Dioda stocks a permanent catalog plus a limited set of 3 rotating Lab Cards that restock every 12 hours (130+ total cards at 1.0 launch). Purchased cards are permanent.
- 10:1 Ichor-to-Ambrosia exchange: Trade 10 Ichor for 1 Ambrosia, capped at 100 Ambrosia (1,000 Ichor) per reset cycle (reported as 18 hours / daily in launch notes; check the live countdown timer in Dioda's Shop). Plan multi-cycle purchases with our Ambrosia 10:1 Planner.
- Buy Ambrosia Vials before entering: Ambrosia Vials cannot be purchased inside The Labs elevator, and each player can use at most one self-reanimate vial per run.
Twisted Dioda Mechanics (Floor 8)
Twisted Dioda typically appears on the floor immediately after Twisted Dessa (Floor 8, Floor 13, and every 5 floors thereafter, or randomly on strong Lab runs). Unlike ground-patrolling Twisteds, she stalks players vertically from the ceiling.
| Mechanic | Verified Behavior |
|---|---|
| Ceiling Movement & Lights | Spawns on the ceiling like a spider (the second ceiling Twisted after Twisted Squirm) and breaks lights while pursuing, plunging rooms into darkness. |
| Light-Blue Electric Bolt | Non-lethal darkness attack from above; deals damage and removes an item from the struck Toon's inventory. Must be outrun. |
| Red Electric Bolt (Lethal) | Signature instant-Loss Lethal attack used in darkness; instantly downs any Toon hit regardless of remaining Hearts. |
| Ceiling Pounce & Grounded State | Can pounce onto her target (lethal if not dodged), leaving her temporarily grounded. Breaks walls and cover in either state. |
| Electric Attack Cadence | Approximately a 12-second cooldown with roughly a 2-second dodge window. |
| Attention Span & Detection | Infinite attention span reported in solo runs; exact circular vision, direct vision, and hearing stud ranges remain WIP / Unverified. |
Blue vs Red Electric Attacks: Why Wikis Looked Contradictory
Lethality rule clarified: Unlike Twisted Dandy and Twisted Dyle—whose every basic hit is an instant-kill—both Twisted Dioda and Twisted Dessa separate non-lethal pressure from specific signature instant-Loss attacks (which is why early wiki trivia loosely claimed they "don't kill instantly").
On Floor 8, Twisted Dioda's Light-Blue electricity damages you and strips an inventory item without one-shotting full-HP Toons, whereas her Red electricity (and ceiling pounce / grounded strikes per Fandom Mechanic documentation) is a one-hit instant Loss. Always save stamina to dodge Red telegraphs and ceiling drops immediately.
Floor 8 Survival & Counterplay Strategy
- Tilt your camera upward when entering every room: Because Twisted Dioda crawls along ceilings and shatters lights during pursuit, checking overhead doorways early prevents ambushes before the room goes dark.
- Never stay locked onto a machine while she is overhead: With an approximate 12-second electric cooldown and 2-second dodge window, greedily finishing a machine risks losing a key item (Blue bolt) or getting instant-downed (Red bolt).
- Bank stamina for electrical telegraphs and grounded chases: Avoid wasting sprint stamina between machines; pair Fast Feet, Second Wind, or Blackout Insurance from our Lab Cards list if your squad struggles on Floor 8.
- Optional support-distractor handoff: Unlike Twisted Dessa, skilled squads can briefly bait Twisted Dioda down to ground level using high-mobility or Blackout-friendly Toons (community guides recommend Pebble, Waxwell, Looey, skilled Bassie play, and Eclipse during Blackouts).
- Use wide open loops: Twisted Dioda breaks walls and cover in both ceiling and grounded phases, so tight hiding spots fail quickly.
Missing Piece Trinket (100% Twisted Dioda Research)

Missing Piece
Unlock: Reach 100% Research on Twisted Dioda.
Verified Effect: During Blackouts, the room only goes halfway dark for you, and Twisteds are highlighted for 2 seconds every 8 seconds.
Best Synergies: One of the strongest 1.0 trinkets for solo players, Blackout Rewiring Experiments in The Labs, Sprout Tape/item sweeps in the dark, and squads running without Brightney, Eclipse, or Vee.